REVIEW · KUTA
Bali Kuta Silver Jewelry Making Class & Take home your Creation
Book on Viator →Operated by Big Tree Jewelry Classes · Bookable on Viator
Your ring starts as a lump of silver. At Legend Jewelry Classes in Legian (Kuta), you’ll learn hands-on silversmithing with friendly instructors like Surya and Memet, then walk out with your own take-home piece. The class also offers an optional gold-plating finish if you want extra glow.
I love that you work with real materials: 1–6 grams of pure silver to design, shape, stamp, and polish yourself, not just watch someone else do it. I also like the setup: a small group (max 10) in an air-conditioned studio with free Wi‑Fi, plus indoor and outdoor space so the mood stays comfortable.
The main drawback is logistics. There’s no hotel transfer or meals included, and you’re limited to one jewelry design with the silver amount provided, so plan ahead if you’re hungry or thinking you’ll make something huge.
In This Review
- Key things that make this Bali class worth your time
- A Kuta Silver Workshop Where Your Hands Actually Make the Ring
- Price and value: why $46.48 can make sense
- Before you arrive: how to plan your time in Kuta
- Check-in and the studio atmosphere: where the class starts
- The 2-hour workshop flow: from design idea to polished metal
- Step 1: Pick your design direction
- Step 2: Shaping and forming your silver
- Step 3: Stamping and detailing
- Step 4: Polishing until it looks wearable
- Step 5: Optional gold plating (if you choose it)
- Silver, stamps, tools: what you actually learn (and remember)
- Optional gold plating: when it’s worth adding
- Take-home jewelry: the moment you leave with your own work
- Quick practical advice for wearing/care
- Who should book this Bali Kuta jewelry class
- Who should skip it (or adjust expectations)
- Should you book this class in Kuta?
- FAQ
- Where does the Bali Kuta silver jewelry class meet?
- How long is the experience?
- What is included in the price?
- Is gold plating included?
- Do I need to bring silver or tools?
- Are meals or hotel transfers included?
- How big is the group?
- Can I cancel if my plans change?
- Is it suitable for most people?
Key things that make this Bali class worth your time
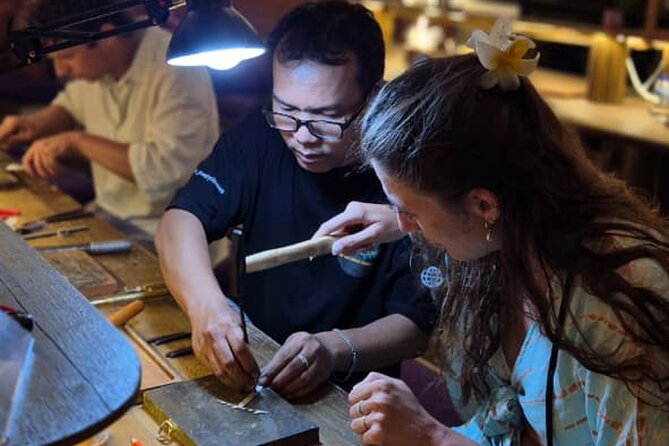
- Small group attention with a maximum of 10 people, so your instructor can keep an eye on your work.
- Real silversmithing steps (shaping, stamping, polishing) using professional tools like saws, hammers, and grinding wheels.
- You control the design with 1 jewelry design made from 1–6 grams of silver.
- Optional gold plating if you want a more luxurious look for your final piece.
- Comfortable studio breaks with air conditioning and free Wi‑Fi while you wait and reset between steps.
A Kuta Silver Workshop Where Your Hands Actually Make the Ring
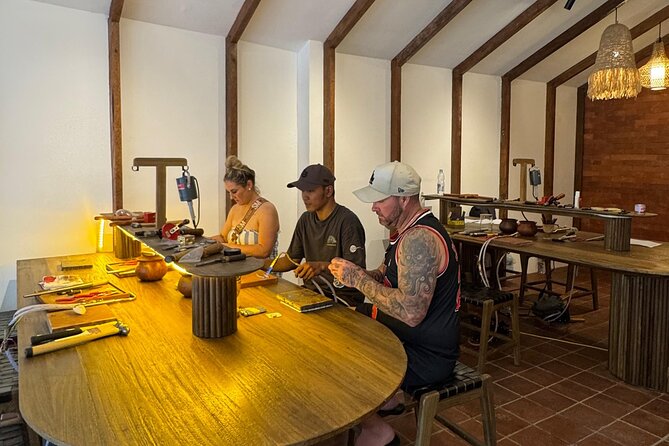
If you’re in the Kuta/Legian area, this kind of workshop is a smart change of pace. Instead of another photo stop or shopping loop, you get a skill you can feel: you shape metal, you stamp a pattern, you polish it until it looks like something you’d actually wear.
The class happens at the Legend Jewelry Classes studio in Jl. Raya Legian No. 75, which matters because it keeps the day practical. You’re not spending your limited time in Bali transferring across the island. And inside, the studio is designed for comfort and photos—there’s both indoor and outdoor space, so you’re not trapped in one room the whole time.
The instructors—Surya and Memet are specifically mentioned in feedback—set the tone. The vibe is patient and encouraging, which is huge when you’re handling tools for the first time. You’re learning a craft, not being graded on it.
You can also read our reviews of more tours and experiences in Kuta



Price and value: why $46.48 can make sense
At about $46.48 per person, the value comes from what you’re paying for: a full 2-hour workshop with professional guidance and actual silver you take home.
Here’s what’s included that most similar activities often skim over:
- 1–6 grams of pure silver for one jewelry design
- Bottled water
- Free Wi‑Fi
- Air-conditioned studio
- Guidance by professional silversmiths
- Specialized tools for jewelry making
So you’re not just buying entertainment. You’re paying for instruction plus the materials needed for a finished piece. That’s especially relevant in Kuta, where many things are service-heavy and product-driven (buy this, buy that). This class flips it: you pay, you make, you keep.
One note: the optional gold plating is offered, but it’s not listed as included. If gold-plating is on your wish list, treat that as a potential add-on when you book or on the day.
Before you arrive: how to plan your time in Kuta
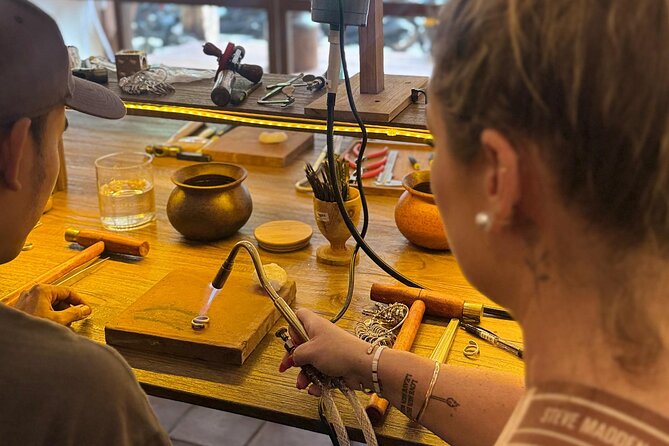
This experience runs about 2 hours and uses a mobile ticket, which makes it easy if you like simple check-ins. The meeting point is the studio in Legian, Kuta, and the site is described as near public transportation—helpful if you’re not using a driver for every stop.
Two practical planning tips:
- Build time into your day for travel on Bali traffic. Kuta can move slowly, and you don’t want to show up rushed.
- Eat before you come. Meals aren’t included, and the class is only a couple hours, so you’ll feel it if you’re hungry.
Also, no hotel transfer means you’re responsible for getting yourself there. That’s not a deal-breaker—just don’t assume someone picks you up.
Check-in and the studio atmosphere: where the class starts
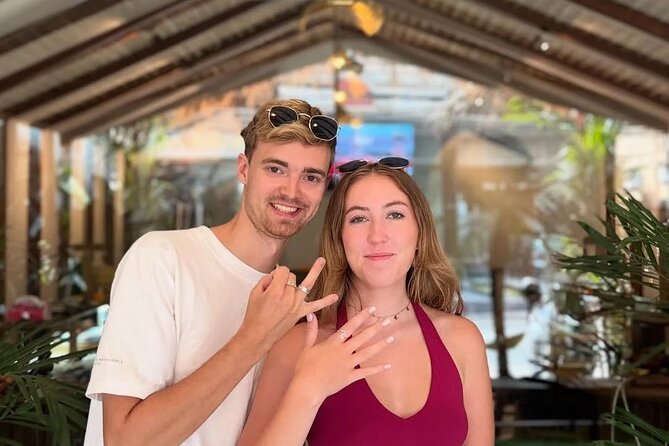
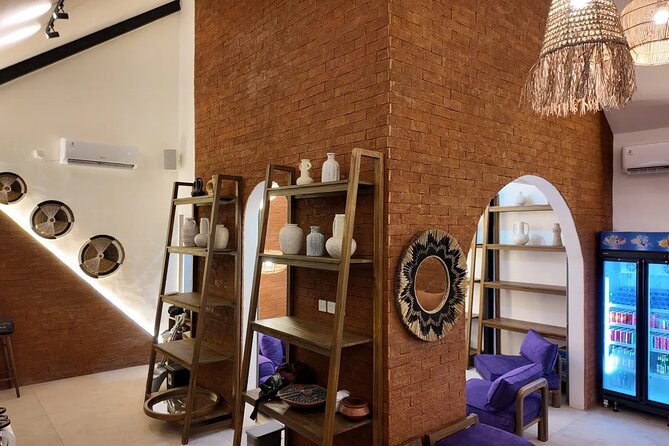
When you arrive at The Legend Jewelry Classes studio, you’ll check in at the front desk and settle in. The waiting area is set up to help you get comfortable fast. You can use free Wi‑Fi, and with the air-conditioned studio, you’re not fighting Bali heat while you wait.
This is one of those “small detail” experiences where the environment matters. When you’re about to work with fine tools, you want to breathe, focus, and feel steady. The studio’s design aims for that, with an Instagramable feel and both indoor and outdoor areas.
If you’re the type who likes a moment to reset before an activity, this setup works. You can grab your bearings, get your phone charged, and switch from beach-mode to craft-mode.
The 2-hour workshop flow: from design idea to polished metal
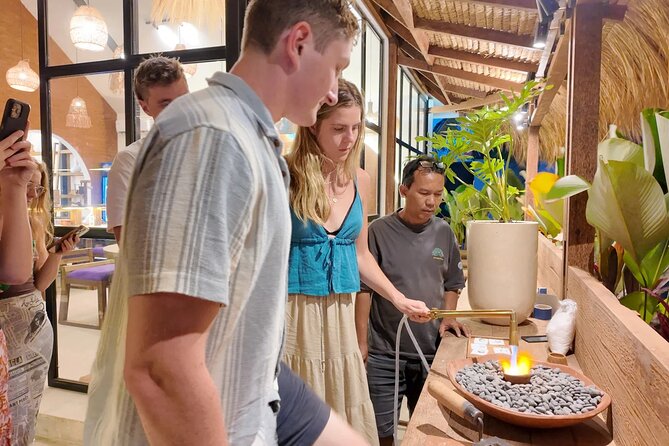
The class is designed as a clear sequence: you start with an introduction, then you move step-by-step through construction until you have a finished piece.





Step 1: Pick your design direction
You’ll start with guidance from a professional silversmith. The goal is to get you designing a single piece using the silver amount provided (1–6 grams) for 1 jewelry design.
In real life, this is where the class becomes personal. Your ring, pendant, or chosen style (within what the session supports) isn’t just random. You learn how to plan the work so the final piece looks intentional.
Step 2: Shaping and forming your silver
Next comes the hands-on part: shaping the metal. This is where you go from idea to something physical.
You’ll work with professional tools, including items like:
- jeweler’s saws
- hammers
- grinding wheels
If you haven’t used tools like these before, it’s normal to feel a little awkward at first. The value of the class is that you’re not left to figure it out alone—your instructor guides your grip, your pace, and the technique.
Step 3: Stamping and detailing
Stamping is one of the most satisfying steps because it turns metal into a message: pattern, texture, or a detail that makes your piece feel like yours.
This step also highlights why the group size matters. With a maximum of 10 travelers, there’s enough attention for your instructor to help you get the stamping right.
Step 4: Polishing until it looks wearable
Then you move to polishing. This is often where the piece transforms from workshop-rough to jewelry-finished.
Polishing can be slower than you expect, but it’s also where you see the result of your work. When the metal catches the light the way it should, the whole session clicks into place.
Step 5: Optional gold plating (if you choose it)
If you want an upgraded look, you can choose optional gold plating. That means your silver base can take on a warmer, more luxe finish—great if you’re aiming for something closer to classic gold jewelry styling.
The key benefit is control. You decide whether you want the natural silver look or a plated finish. It’s your piece, your style.
Silver, stamps, tools: what you actually learn (and remember)
What makes this class stand out isn’t just that you leave with jewelry. It’s that you learn the logic behind the craft.
You learn how metal behaves when you:
- shape it
- cut or refine it
- stamp it
- polish it
Even if you never make jewelry again after this trip, you come away with a better sense of how pieces are made. That helps if you like browsing jewelry stores later—you’ll notice details you used to overlook.
And since you use 1–6 grams of pure silver (instead of pretend metal or an ultra-light craft substitute), your brain treats it as real work. That makes the final take-home feel more meaningful.
Optional gold plating: when it’s worth adding
Gold plating is for you if:
- you want a warmer look than silver-only
- you’re thinking of it as a dress-up piece or gift
- you like the idea of a mixed-metal vibe without buying gold jewelry
It’s optional, so if you’d rather keep it simple and focus on classic silver, you can. Either way, you still get the core class value: the silversmithing process and a finished piece made by your own hands.
Take-home jewelry: the moment you leave with your own work
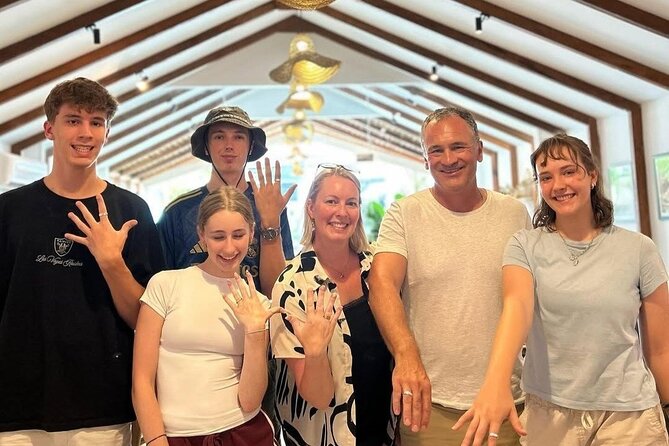
At the end of the session, you take home your handcrafted jewelry. That’s the big emotional payoff. You’re not leaving with a coupon for later or a reference photo—your finished piece is in your hands.
This matters for couple travelers, too. Many people come specifically to recreate meaningful jewelry, like remaking rings tied to relationships rather than replacing them later. If you like the idea of turning a memory into something physical, this is the sort of activity that does it fast.
It’s also a nice family option. The class is described as something most travelers can participate, and the group size keeps the experience manageable.
Quick practical advice for wearing/care
The class details don’t spell out a care routine, so don’t count on special aftercare tips being included. After you finish, your best move is to ask the instructor what they recommend for storing and wearing the piece, especially if you chose gold plating.
Who should book this Bali Kuta jewelry class
This class fits best if you:
- are staying around Kuta or Legian and want a real activity nearby
- want a hands-on souvenir that’s more personal than a shop purchase
- like small groups and direct instruction
- are traveling solo, as a couple, or with friends and want a shared creative project
If you’re a family group, it can be a great way to keep everyone busy in one shared space without needing to move around Bali all day.
If you’re expecting a long “tour” with stops around the island, this isn’t that. It’s focused. You go to the studio, you make the jewelry, you leave with it.
Who should skip it (or adjust expectations)
Skip this or adjust your expectations if you:
- don’t want to go anywhere on your own (no hotel transfer)
- need a meal provided (meals aren’t included)
- want to make multiple designs or a very large statement piece
- expect more time than about 2 hours
You get one jewelry design using the silver amount provided (1–6 grams), so plan your “vision” around what the session supports.
Should you book this class in Kuta?
Here’s my quick decision guide.
Book it if you want:
- hands-on silversmithing with real tools
- an easy Kuta/Legian location
- a small group feel with patient instruction from people like Surya and Memet
- a take-home creation you made yourself
Skip it if you:
- want a packaged day with hotel pickup and meals
- need lots of free time to explore around the workshop area
- want to make more than one jewelry piece in the same session
If you fall in the first group, this is a solid use of a couple hours in Bali. You leave with something you can actually wear—and a craft skill you’ll probably remember the next time you see silver work up close.
FAQ
Where does the Bali Kuta silver jewelry class meet?
The class meets at The Legend Jewelry Classes – Kuta Silver Class – Jewelry Making Workshop, located at Jl. Raya Legian No. 75, Kuta, Kec. Kuta Sel., Kabupaten Badung, Bali 80361, Indonesia.
How long is the experience?
It’s about 2 hours.
What is included in the price?
The price includes bottled water, free Wi‑Fi access, an air-conditioned studio environment, 1–6 grams of pure silver for 1 jewelry design, guidance from professional silversmiths, and specialized tools for jewelry making.
Is gold plating included?
Gold plating is optional. The experience offers an optional gold plating service, but it is not listed as included in the standard package.
Do I need to bring silver or tools?
No. The class provides the silver (1–6 grams) and the specialized tools, and professionals guide you through the process.
Are meals or hotel transfers included?
No. Meals and hotel transfer are not included.
How big is the group?
The activity has a maximum of 10 travelers.
Can I cancel if my plans change?
Yes. You can cancel for a full refund up to 24 hours in advance of the experience’s start time. Cancellation less than 24 hours before the start time isn’t refunded.
Is it suitable for most people?
Yes, the experience notes that most travelers can participate.