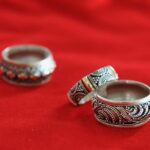
REVIEW · UBUD
Celuk Bali Silver Class: Hands-On Silver Making Class
Book on Viator →Operated by Celuk Bali Silver Class · Bookable on Viator
Make silver in Celuk, not a showroom. This hands-on silver jewelry class in Ubud’s Celuk area is exactly what it sounds like: you learn how to shape, mold, polish, and finish a piece you’ll actually wear. I like that Cita, Andika, Omang, and Suela keep the vibe friendly, and that you get complimentary snacks and mineral water so you’re not working on an empty stomach.
Just remember the 5-gram limit on what you’re allowed to take home. You can make one piece per person, and if you want more silver (or add gemstones), there are extra IDR fees—so it helps to choose a design that fits the amount before you start.
In This Review
- Key highlights worth your time
- Celuk Bali: where the work is real
- Getting set up: meeting point, small group, and the welcome basics
- What you’ll actually make: design choices within the 5-gram plan
- The workshop flow: shaping, molding, polishing, and finishing
- Instruction that feels personal: Cita, Andika, Omang, and Suela
- Snacks, water, and Wi‑Fi: the small comforts that help you focus
- One piece for you: how to plan your take-home silver
- Price and value: $45.87 for silver, tools, and real teaching
- Who this is best for (and who should consider something else)
- Practical tips so your ring or pendant comes out right
- Should you book Celuk Bali Silver Class?
- FAQ
- How long is the Celuk Bali Silver Class?
- How much silver do I take home?
- What happens if I want more than 5 grams of silver?
- Are gemstones included?
- Does the price include snacks, water, and Wi‑Fi?
- Is shuttle included?
Key highlights worth your time
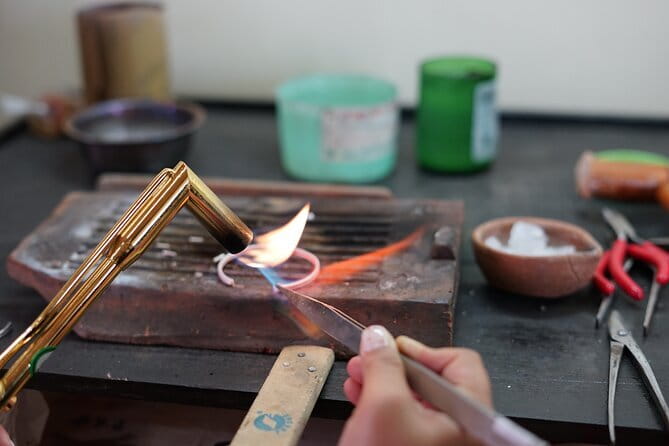
- Celuk-area silversmithing session that focuses on making, not watching
- One piece per person using your own silver (no sharing)
- Up to 5 grams of silver included, with clear extra fees beyond that
- Free Wi‑Fi + snacks and mineral water to keep the break-from-tour-mode real
- Small group feel (max 20 people) with hands-on guidance from the team
- Take-home jewelry made by you, not just purchased off a rack
Celuk Bali: where the work is real
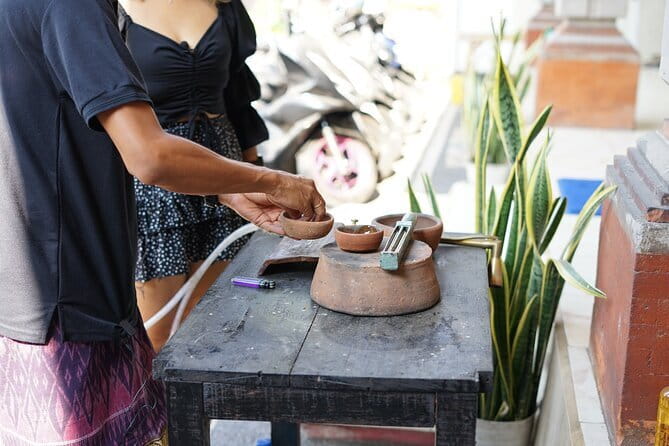
Celuk is the part of Bali where silver crafting is taken seriously. You’re not popping into a boutique where someone else makes the jewelry while you wait. Here, the point is to get your hands involved, guided by a teacher, so the finished piece feels personal.
What I like about doing this in the Celuk area is the sense of doing something grounded. Ubud gets a lot of attention for yoga, temples, and tours. A hands-on jewelry class gives you a different lane: you’ll leave with something tangible, and you’ll understand the basics behind what you’re buying in local shops.
Also, the workshop setup is designed for a smooth visit. The meeting point is specific (about 400 meters east of the Barong Statue on Jl. Raya Celuk), and the class runs around 1.5 to 3 hours—long enough to learn, short enough to stay flexible in your Ubud schedule.
You can also read our reviews of more tours and experiences in Ubud


Getting set up: meeting point, small group, and the welcome basics
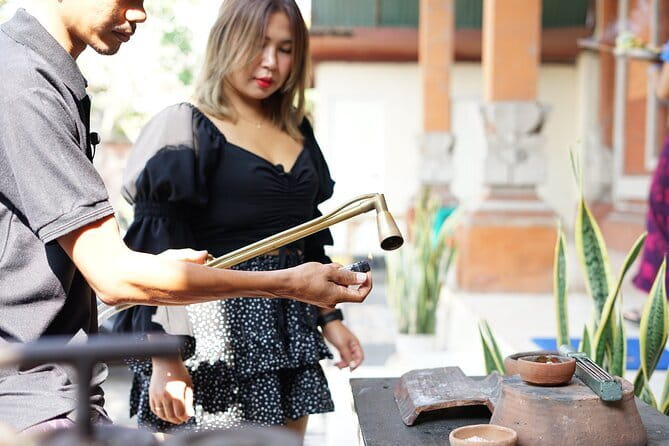
Your experience starts back at the workshop area in Celuk, and it ends there too. The meeting point is easy to find if you’re using a map pin or asking a driver to place you near the Barong Statue. It’s also described as near public transportation, so you’re not stuck needing a private car.
Once you arrive, the “tour” part stays light and the “class” part stays focused. You’ll have snack and mineral water waiting, which matters more than you’d think. Silver work is detailed, and you’ll last longer when you’re not trying to concentrate on an energy dip.
You’ll also get free Wi‑Fi. That’s useful if you want to message home, look up reference photos for your design ideas, or just keep your phone from becoming a worry. The session is capped at a maximum of 20 people, which helps the class feel more like a workshop than a factory line.
What you’ll actually make: design choices within the 5-gram plan
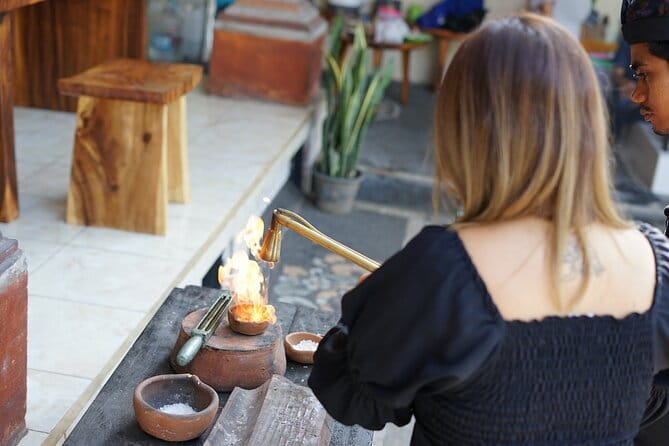
The heart of this class is making your own silver jewelry from scratch. You can create something like a pendant, ring, or earrings. In practice, you’ll shape and mold the metal, then polish and finish it into a wearable piece.
Here’s the key constraint: each participant works with a maximum of 5 grams of silver. That doesn’t mean you’ll necessarily use the full amount—your final weight depends on your design—but the class states that if your jewelry ends up under 5 grams, the usage is still accounted for as 5 grams. So think of it as a “budget” you plan around, not something you can casually exceed.
If you want a heavier or more detailed piece, there’s an over-weight option: an additional fee of 85,000 IDR per gram for more than 5 grams. If you’d like gemstones, that’s another add-on, typically from 100K to 500K IDR depending on type and size. Those extras aren’t included, so you’ll want to decide early whether you want a clean silver design or you want bling.
One more important rule: you can’t share silver with another person. Each participant makes only one jewelry piece, and it’s directly yours to take home.
The workshop flow: shaping, molding, polishing, and finishing
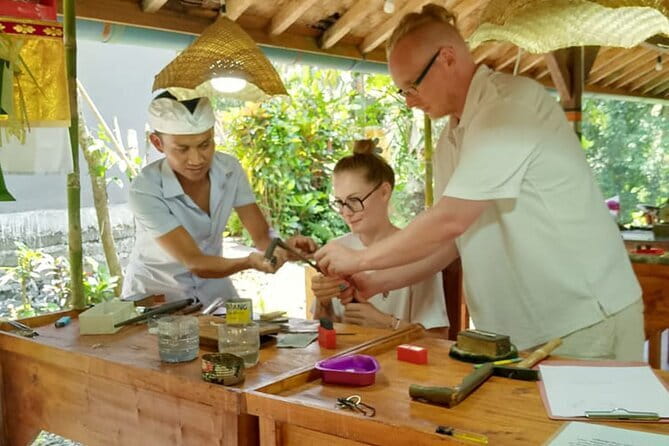
Even without a super-technical explanation, you can expect the class to follow the steps you’d want to know if you were learning silver crafting for real. You’ll go from raw silver to a shaped piece, then into finishing.
In the first phase, you’ll focus on the form—shaping and molding are where your design idea starts to become recognizable. This is also where having a teacher helps most. If you tried to teach yourself, you’d likely run into frustration: the metal won’t behave the way your brain expects, and tiny errors compound fast. With guidance, you get the “how” quickly enough to feel productive.
Next comes the finishing. The class explicitly includes polishing and finishing your creation to perfection. In plain terms, this is where the piece goes from rough and handmade to smooth and wearable. Polishing changes everything visually: sharp edges feel nicer, and the silver looks more like the jewelry you’d actually want to wear out.
You’ll be working for roughly 1.5 to 3 hours. Many people finish a ring in about that 90-minute range, but the timing depends on the design and how much finishing you do. The class doesn’t feel like it’s rushing you through a checklist—you’re being taught a process.
Instruction that feels personal: Cita, Andika, Omang, and Suela
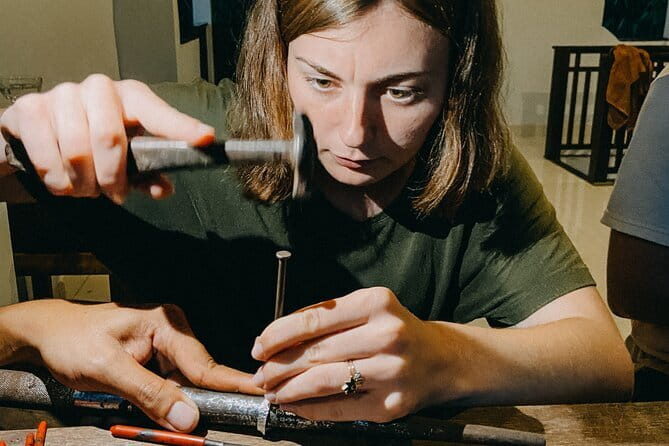
This class wins on one thing above all: the humans in the room. The team members named in the experience descriptions—Cita, Andika, Omang, and Suela—are described as friendly and helpful, and that matters because silver making can be fiddly.
A good teacher doesn’t just show you where to place your hands. They correct your approach before you waste time. That’s what you want here. If your design is even slightly off, the teacher’s guidance can save you from redoing work later during polishing and finishing.
The group size also supports the personal feel. With a maximum of 20 people, you’re less likely to get stuck waiting for attention. The class format is built for you to do real work, not just observe.
Practical tip: bring a simple design mindset. If you try to plan something super complex on the spot, you’ll feel the pressure. If you go in with an idea for a ring, pendant, or small earrings-style piece that fits the silver allowance, you’ll get a better outcome and a calmer experience.






Snacks, water, and Wi‑Fi: the small comforts that help you focus
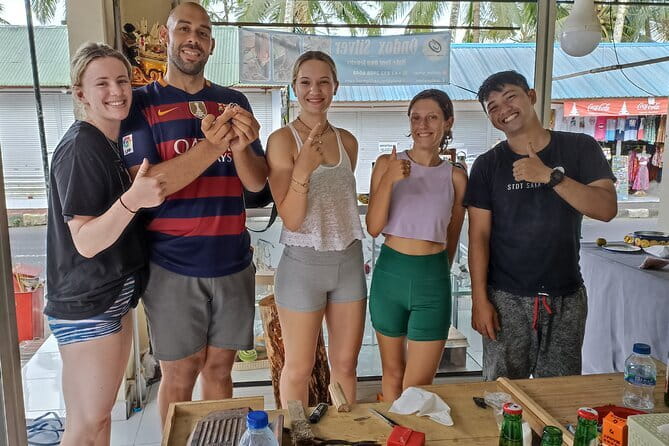
This is a working session, not a passive sightseeing stop. That’s why the small inclusions matter.
Complimentary snacks and mineral water help you stay comfortable while you concentrate. People often underestimate how much a detail-heavy activity depends on steady energy. If you’re doing this during a day of temples and Ubud traffic, you’ll be glad the class starts by taking care of basics.
The free Wi‑Fi also helps you keep momentum. You can share progress, find inspiration, or just stay connected while you’re waiting for the next step. It’s a small detail that makes the class feel easier to fit into your day.
And because the experience ends back at the meeting point, it’s straightforward to plug back into your itinerary afterward. No complicated “and then you get dropped somewhere else” situation.
One piece for you: how to plan your take-home silver
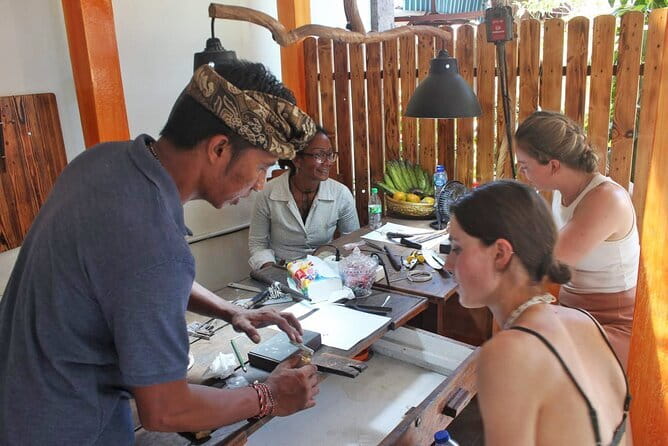
You’ll leave with your own silver jewelry. The amount of silver you can take home is part of the class structure, and it’s clear in the experience details: you get jewelry made from 1–5 grams, with the final weight depending on your design.
That’s a smart model for value. You’re paying for:
- instruction and teacher support
- tools and materials
- the metal allowance to make one take-home piece
- snacks, mineral water, and free Wi‑Fi
So instead of paying only for a souvenir you didn’t make, you’re paying for the whole learning-and-making package.
Where you need to think ahead is the extras:
- more than 5 grams means an additional fee of 85,000 IDR/gram
- gemstones cost extra (100K to 500K IDR depending on type and size)
- you can’t combine silver with someone else, so each person’s final piece depends on their own design choices
If you want to maximize your experience value, pick a design that clearly fits within the 5-gram plan. You’ll spend less time second-guessing mid-class, and you’ll end up with a piece you feel proud to wear.
Price and value: $45.87 for silver, tools, and real teaching
At $45.87 per person, the value depends on what you compare it to. If you’re deciding between buying a bracelet or ring in a shop and paying for instruction, this class becomes compelling because you’re getting more than a product. You’re getting a guided skill-building session plus take-home jewelry.
The class includes the tools and materials you need, plus snacks, mineral water, and free Wi‑Fi. You also get a teacher-led process for shaping, molding, polishing, and finishing. That’s the part that’s hard to replicate on your own unless you want to buy equipment and deal with trial and error.
Where costs can rise is also predictable:
- going beyond the silver weight limit
- adding gemstones
- any needed shuttle (the class does not include shuttle)
So I’d call this a good deal if your goal is a custom silver ring or small jewelry piece. It’s less of a steal if you want a very large silver statement piece or gemstones right away—because the add-ons change the math.
Who this is best for (and who should consider something else)
This class suits you best if you want a hands-on Bali experience that’s different from the usual Ubud circuit. It’s also a strong rainy-day option since it’s focused indoors and doesn’t depend on weather for the main activity.
It works for couples and friends who want a shared activity—just remember each person makes only one piece and silver can’t be shared. It can also work well for parents and kids who are old enough to follow instructions and handle a careful, detail-oriented workshop setting. The class is described as suitable for most travelers, so the general expectation is that it’s not limited to jewelry experts.
If you hate constraints, then read the rules carefully first. The 5-gram limit means you’ll need to accept a smaller finished piece than you might imagine. If you’re dreaming of an oversized silver bangle with lots of stones, this may still be fun—but budget the extras.
Also, if you’re short on time, aim for a simpler design. The class runs about 1.5 to 3 hours, and your exact timeline will depend on how your piece is coming together and how much finishing you want.
Practical tips so your ring or pendant comes out right
Here’s how to get the best result without getting stressed:
- Choose a design that fits the 5 grams. If you want something bulky, plan for the extra fee.
- Decide on silver-only versus gemstones early. Gemstone costs vary (100K to 500K IDR), so knowing your plan avoids mid-class surprises.
- Use the time for polishing and finishing. That’s where your piece becomes wearable and looks clean.
- Ask for help as soon as something feels uncertain. The whole point is teacher guidance, so don’t wait until you’ve made a mistake you’ll hate later.
- Keep your expectations realistic. You’re learning, not producing a factory-grade heirloom on your first try. The best outcome comes from steady progress through each step.
If you like taking home something with a story, this checks that box. You’ll know how it’s made, and that makes wearing it more fun.
Should you book Celuk Bali Silver Class?
Book it if you want a hands-on souvenir that’s actually yours and you like the idea of learning silver jewelry basics in a guided workshop. The value is strongest when you choose a design that fits the included 1–5 grams and you’re happy with silver-only (or you pick a gemstone option with a budget in mind).
Skip it or consider alternatives if you’re set on a large, heavy, gemstone-heavy piece. The class structure is built around that 5-gram limit, and the extra fees can add up quickly once you’re outside the included allowance. Also, if getting there is a hassle for you, note that shuttle isn’t included—so plan transport from your Ubud base.
If you’re in Ubud and you want one memorable activity that’s different from the standard sightseeing cycle, this is a smart pick. You’ll leave with something wearable, made through real effort, not just bought and boxed.
FAQ
How long is the Celuk Bali Silver Class?
The class runs approximately 1.5 to 3 hours.
How much silver do I take home?
You can take home your own silver jewelry made using 1–5 grams. Your final weight depends on your design, and if your jewelry is under 5 grams, the usage is still accounted for as 5 grams.
What happens if I want more than 5 grams of silver?
Extra silver beyond the 5-gram limit has an additional fee of 85,000 IDR per gram.
Are gemstones included?
No. Gemstones cost extra, with an additional charge ranging from about 100K to 500K IDR depending on type and size.
Does the price include snacks, water, and Wi‑Fi?
Yes. Snacks, mineral water, and free Wi‑Fi are included.
Is shuttle included?
No. Shuttle is not included.